
Generating Spheres for Apple Vision Pro
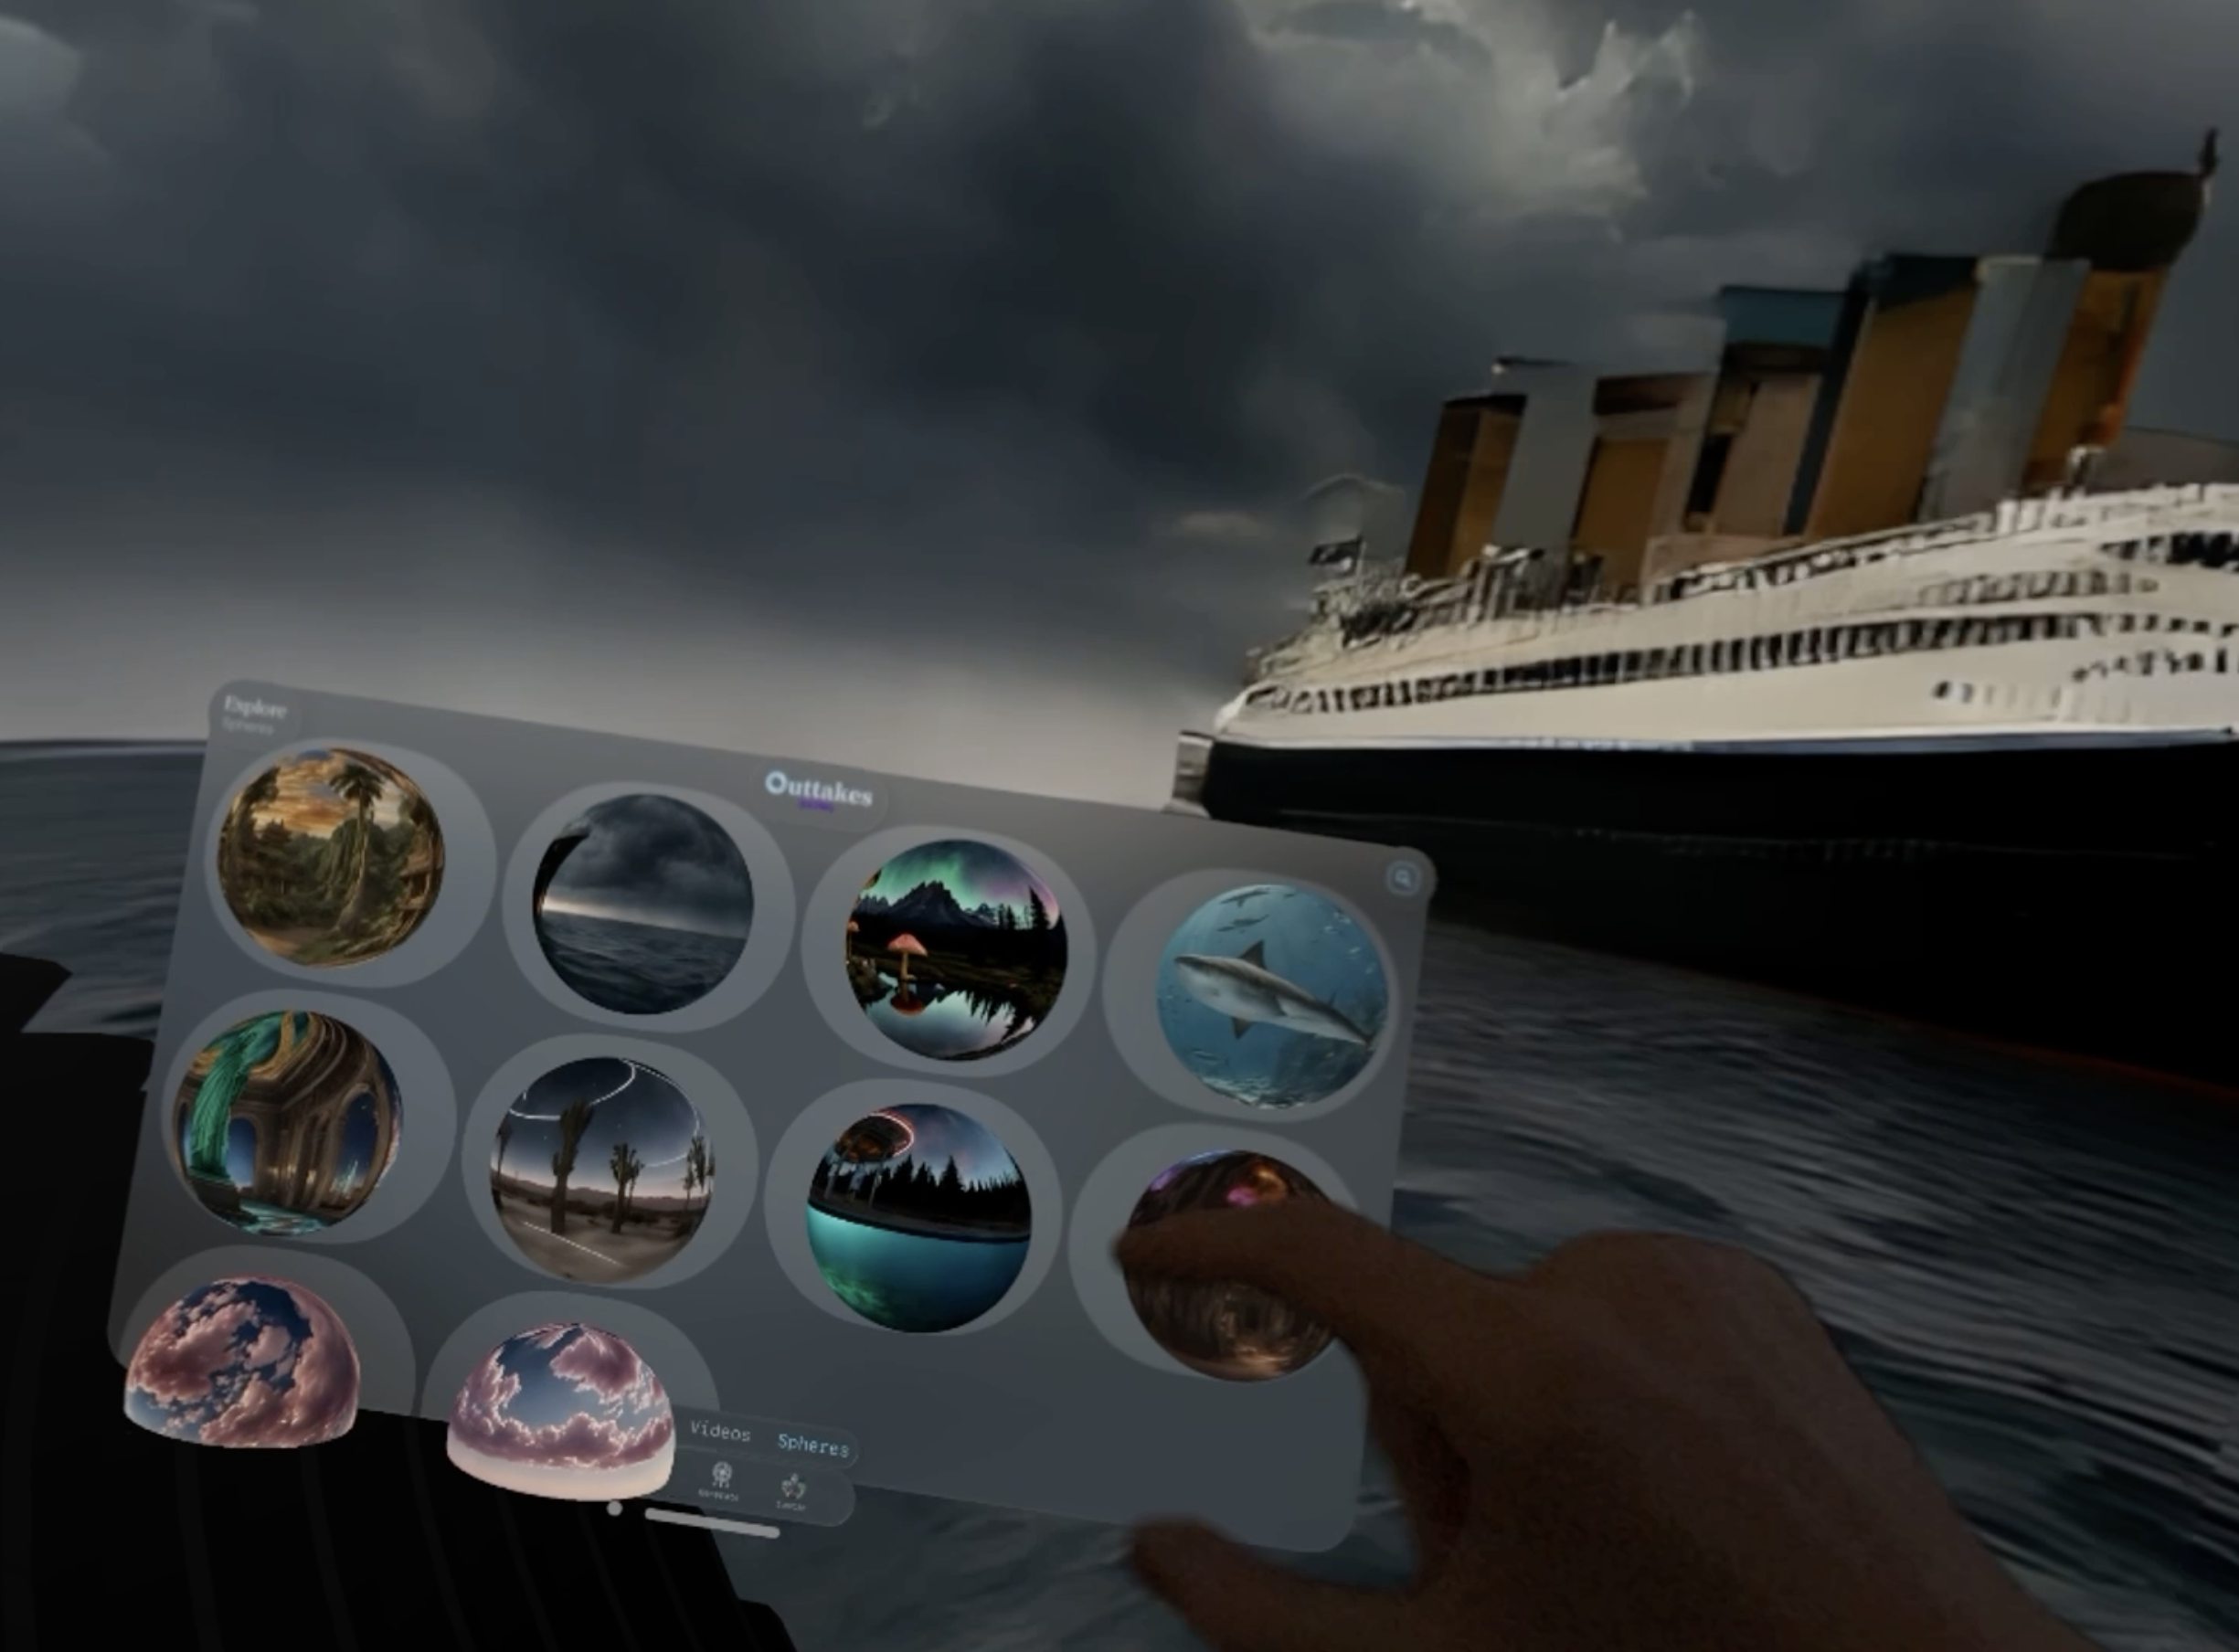
Outtakes for visionOS features an immersive 360˚ Sphere where you can view entire worlds generated.
Spheres can be generated using Outtakes for macOS. Spheres are in beta and this workflow gives you full control at the cost of having more parameters to tune – we will introduce a simpler, more limited workflow as well after getting feedback.
If you haven’t already, first download Outtakes on both macOS and visionOS.

1: Generate Sphere Image
Click the ‘Generate’ tab on the bottom bar. Click the ‘Sphere Image’ sub tab.
Enter a prompt that describes your world. Examples include “psychedelic mushroom forest in grand teton national park”, “desert oasis at night, milkyway galaxy and reflective lake, cactus forest” etc.
Click ‘Generate’ and continue to generate until you find the perfect start to your Sphere video.
The ‘Sphere Control’ button under the ‘Control’ tab will optionally add more spherical and equirectangular influence to your images.
Hover over the image you’d like to turn into a video, and click ‘Create Video’.
2: Sphere Film Studio
You will encounter the Video Studio, which is also used to create normal Outtakes videos.
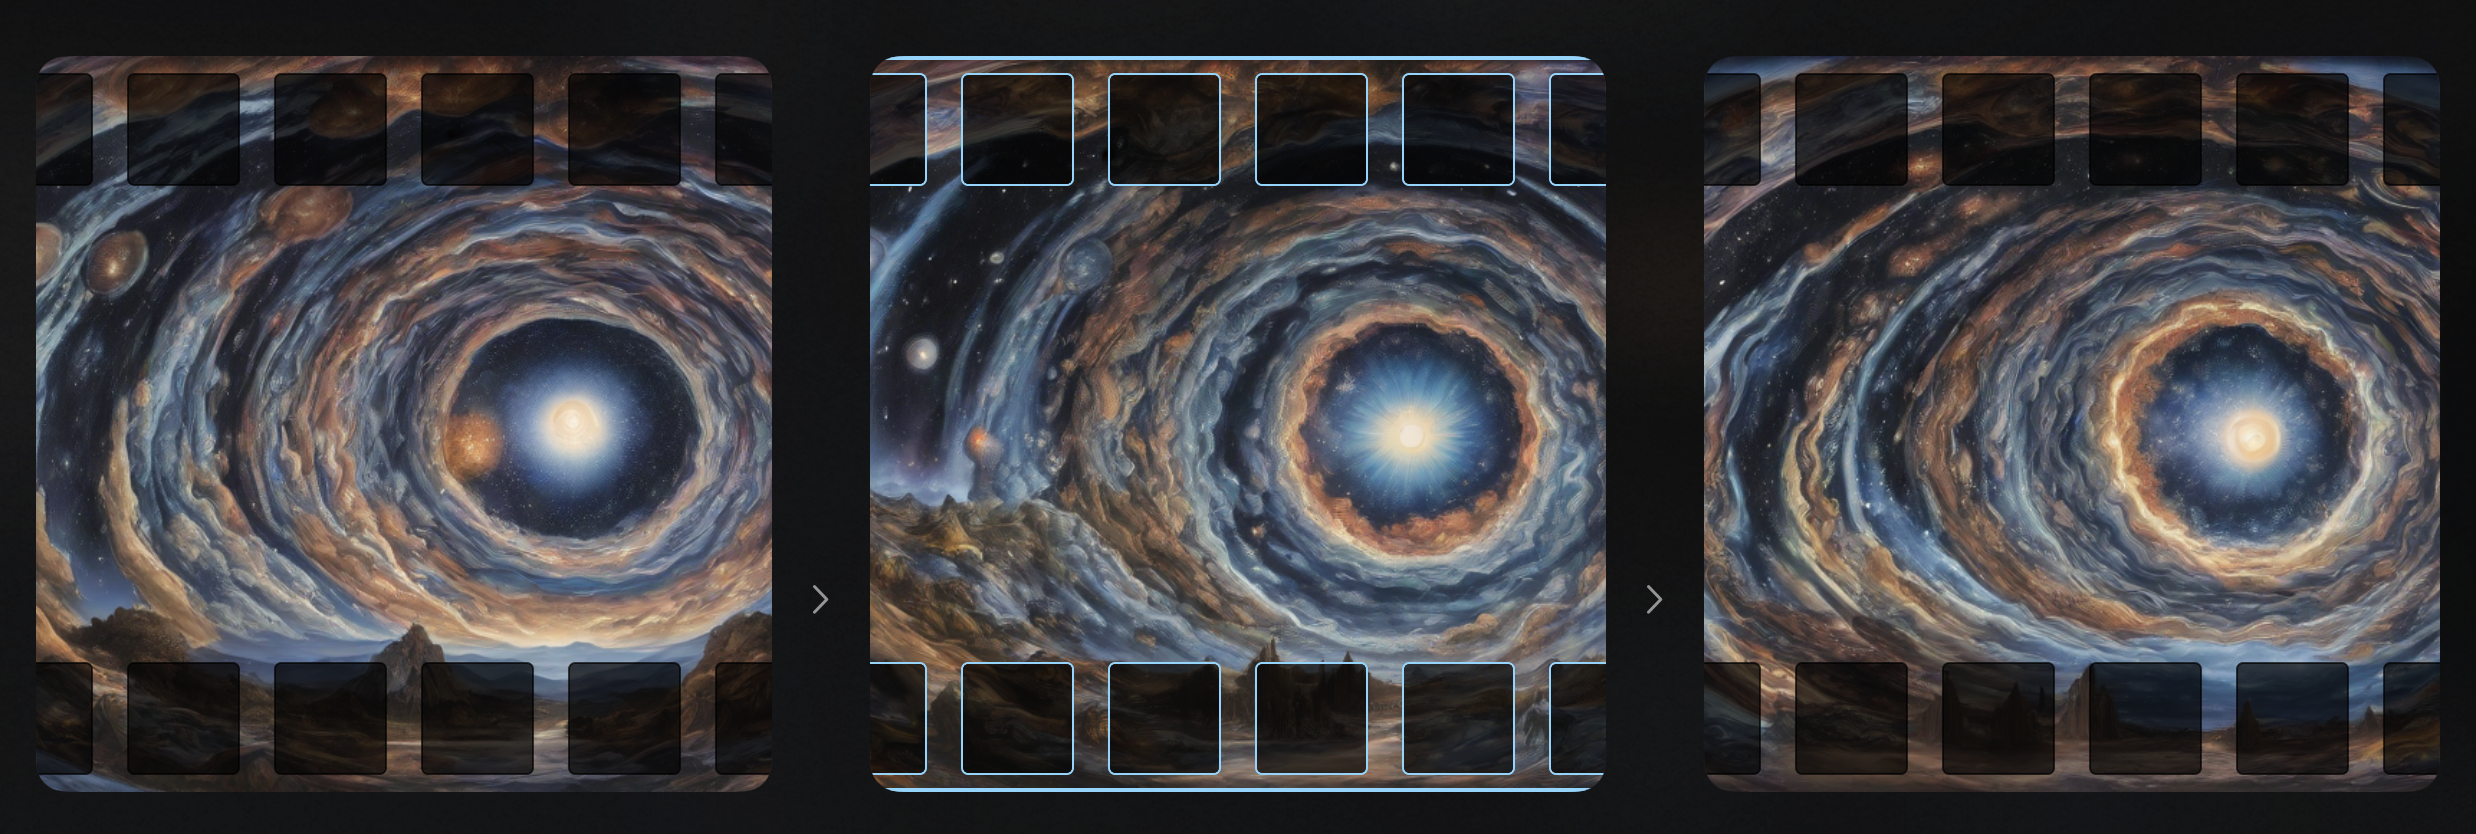
The film tapes represent keyframes in the video, which are evenly distributed across the number of frames you choose.
Click on a keyframe to select it, the blue outline indicates it’s active in the palette.
Press ‘+’ to add a new keyframe, or the square icon to duplicate.
For Sphere generation, it’s recommended to have 5 keyframes, each with a unique seed and the same prompt. This will enable a smooth seed interpolation video.
From here, you can change the seed by pressing ‘Preview’, or keep the seed by pressing ‘Redraw’. You can change the prompt, or the seed, and Outtakes will interpolate them.
The preview image within the keyframe represents what it will look like in the final video.
3: The Palette
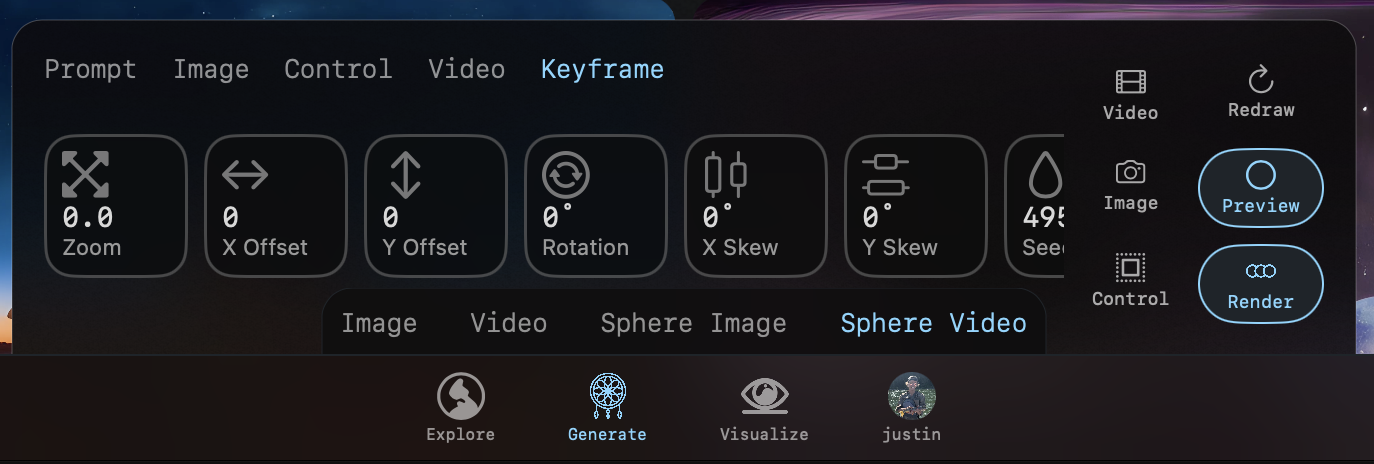
Image Settings
The image tab allows you to control the image destruction strength, which is visualized on the right. The higher the noise parameter, the more varied and less consistent each keyframe will be. This also controls the scheduler strength.
It is not recommended to adjust the image strength unless necessary. The default recommended value is 0.80.
Control Settings
The control settings are important, they affect how varied or consistent the video will be between keyframes.
The control image, represented on the right, is what’s used as the baseline guide for the video generation. For Spheres, it’s the image you generated in step 1.
A higher control strength will lead to higher consistency.
Low control strengths create more variance between keyframes.
Use these to your desire depending on intended outcome.
Edge control affects how much the video adheres to the edges and outlines in the control image.
Color control affects how much the video adheres to the colors in the control image.
The recommended control settings for Sphere generation are 0.42 for both edge and image control. This is a balance between consistency and variance and is typically visually pleasing but not overwhelming.
Video Settings
The frames parameter controls how many frames are generated for the Sphere video. Combined with FPS (frames per second), this determines the duration of the final video render.
The default frames for Sphere generation is 108.
The default FPS is 24.
The Control parameter determines whether control is used. For Sphere generation, this setting should always be ON.
Keyframe Settings
Keyframe parameters are calculated on every frame.
For example, using an X Offset of -6 would move the image to the left by 6 pixels every frame. For a 512x512 image, 85 frames with an offset of -6 would yield a perfect loop.
It is not recommended to apply keyframe settings for Sphere generation as they will affect the seam and induce higher motion. Keyframe settings are great for generating normal videos.
The default keyframe settings for Sphere generation are 0.0 Zoom, 0 X Offset, 0 Y Offset, 0 Rotation.
4: Render and Publish
You’re now ready to generate the Sphere video.
Press ‘Render’ and confirm the video will render for your intended duration. A preview video will show the render progress frame by frame.
Once complete, hover over the newly generated video in the library below, and press ‘Publish’, or right-click the video and press ‘Publish’.
Your Sphere video is now available on your Outtakes profile and will be considered for curation on the feed page.
5: View on Apple Vision Pro
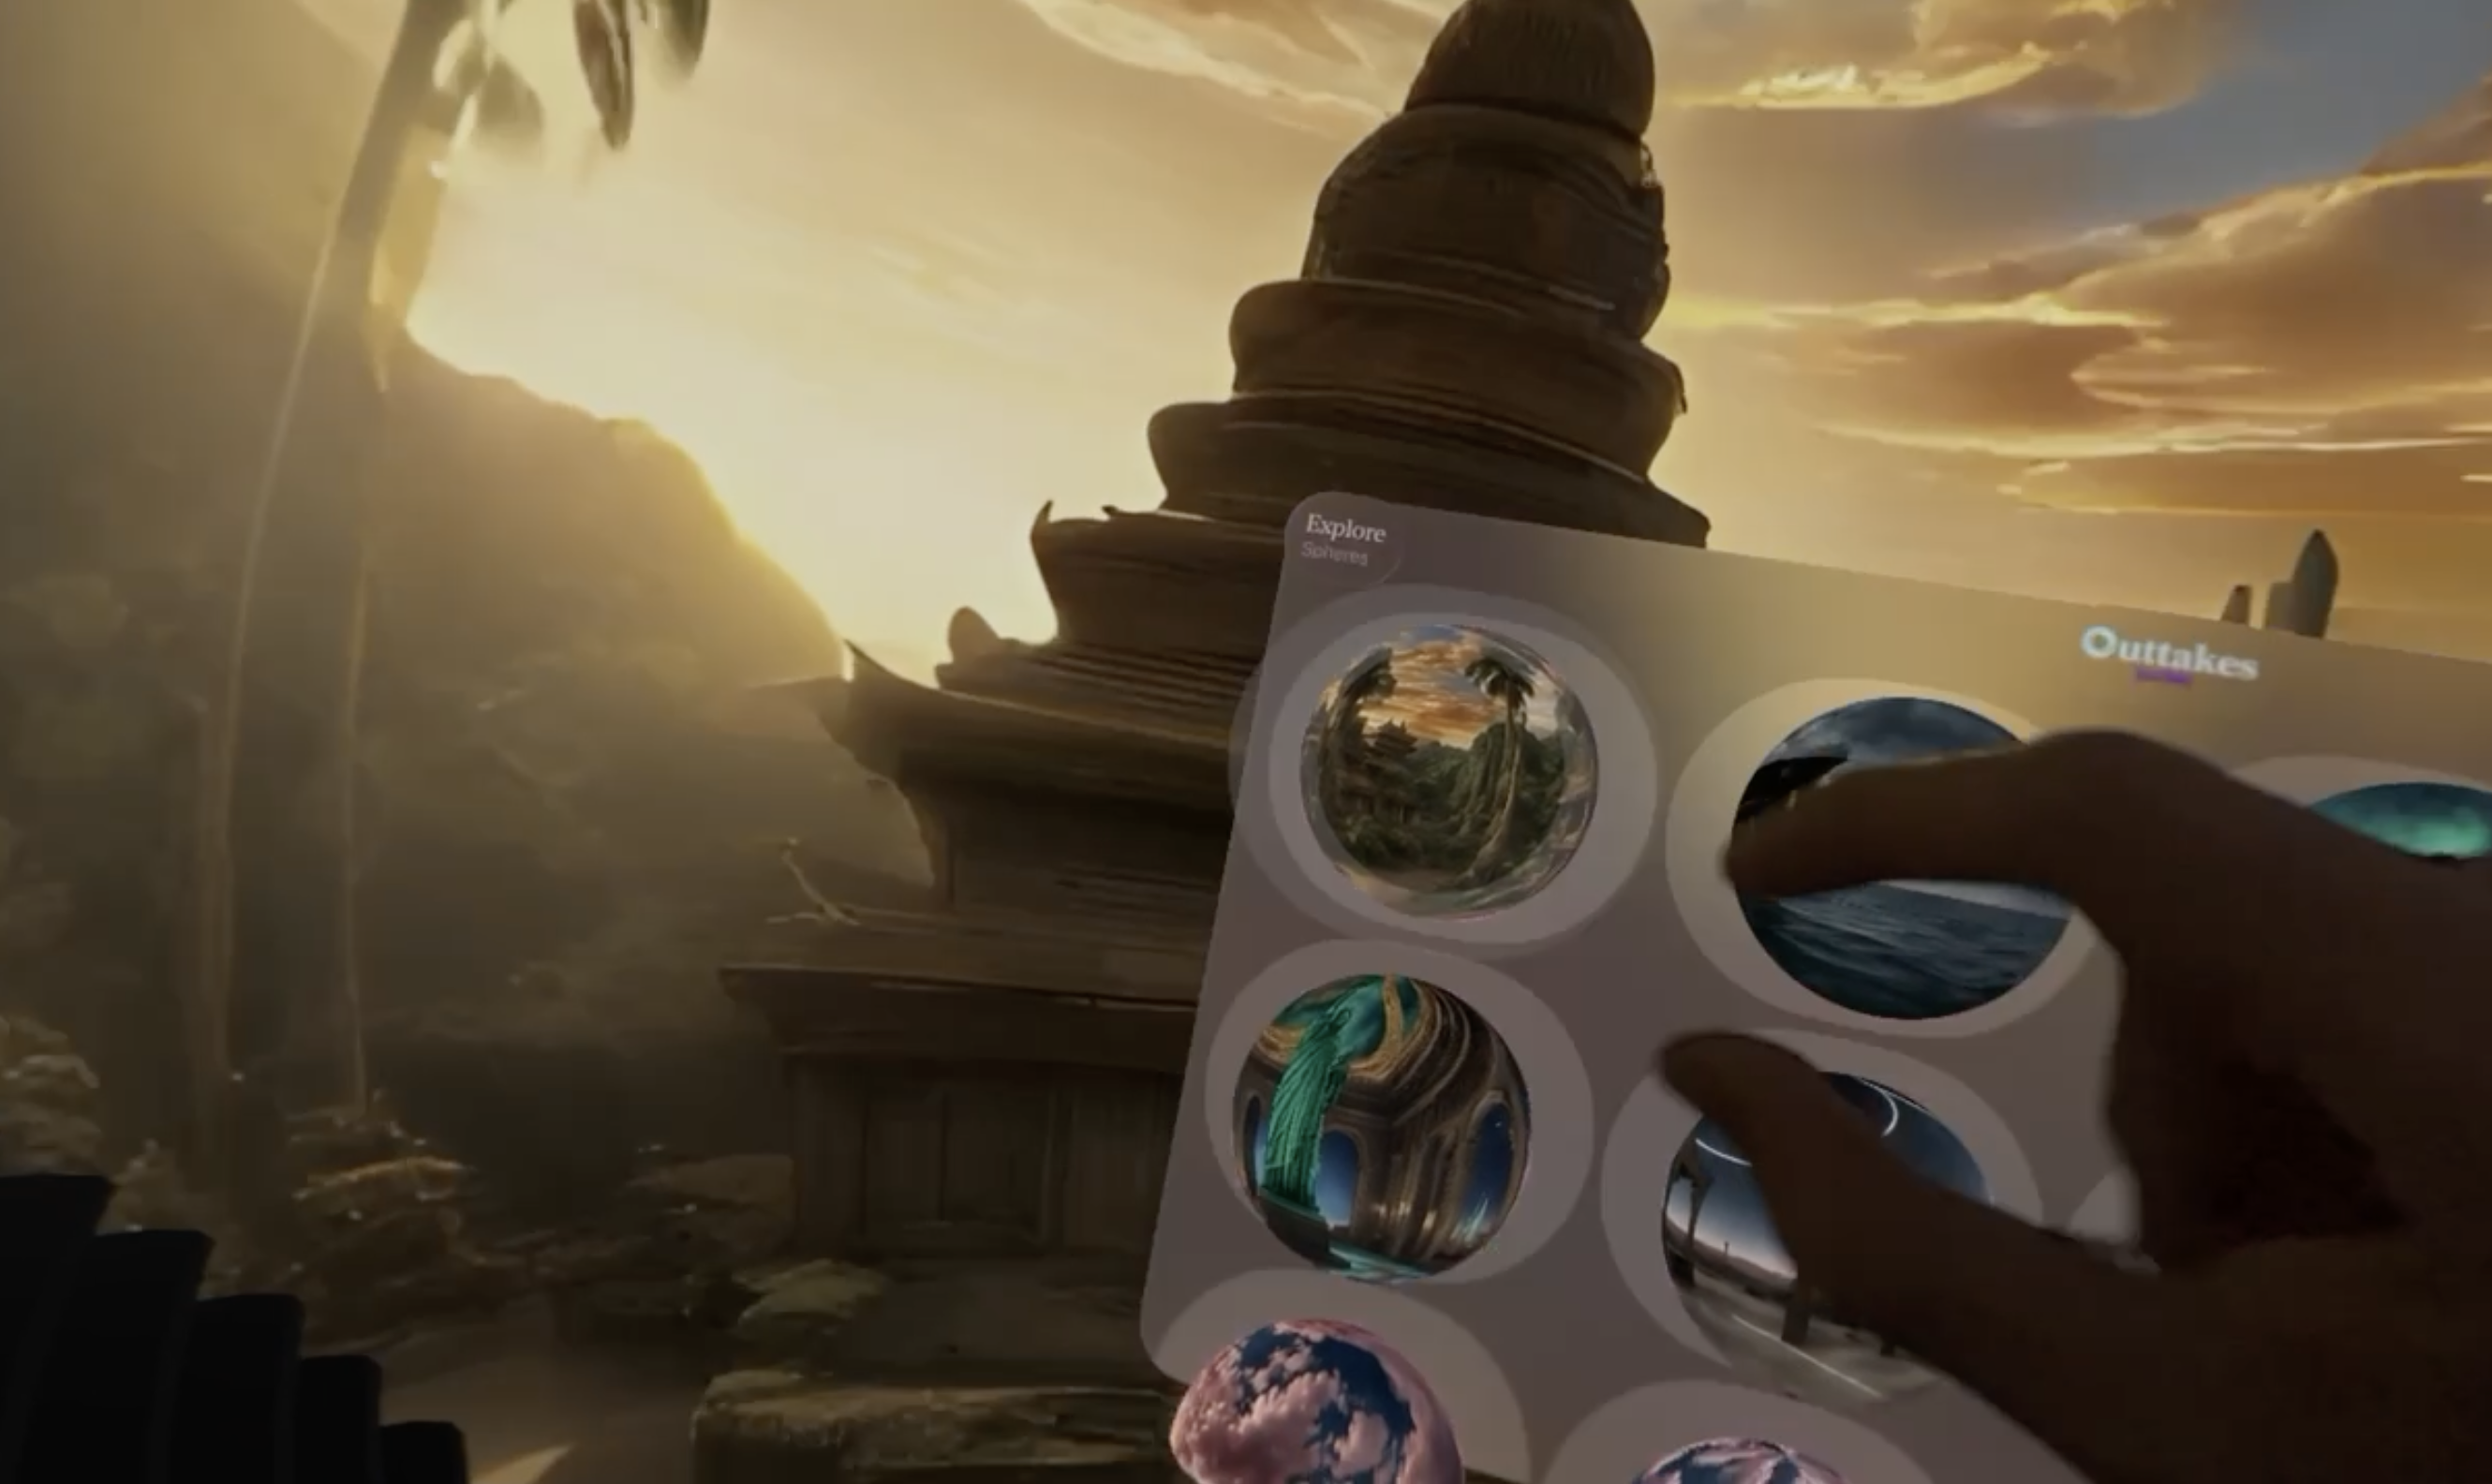
Press the ‘Profile’ tab on the bottom, and press the ‘Spheres’ sub tab.
Scroll vertically and press on a Sphere to view it in full immersion. Enjoy!